Knowledge base
Upload and select PDF documents to be used as the references for items generated by Item Assist.
The knowledge base is an optional feature that can improve the quality of the sources that Item Assist uses to generate multiple choice questions. If the knowledge base is turned off, Item Assist will use its original training data. If the knowledge base is turned on, Item Assist will use only your chosen sources as references. The knowledge base is powered by Retrieval Augmented Generation, a research-based tool developed to improve AI accuracy.
 To improve Item Assist’s quality, stability, and security, Item Assist does not search the internet.
- When the knowledge base is disabled and the AI model's original training data is used, all of the training documents that Item Assist will use will be dated to prior to October 1, 2024. If users require more recent references, the knowledge base is recommended.
- The knowledge base should be used to provide references that Item Assist will be citing for item content, and not for other types of training documents such as style guides or sample items.
- Item Assist does not access the internet in real time; however, it may reference previously downloaded materials such as PDF versions of web pages.
Upload resources
|
|
 For each document in the knowledge base, you must own its copyright or the content must be public domain.
- Click Knowledge base on the Item Assist home page.
- Click Upload resources in the upper-right corner of the page.
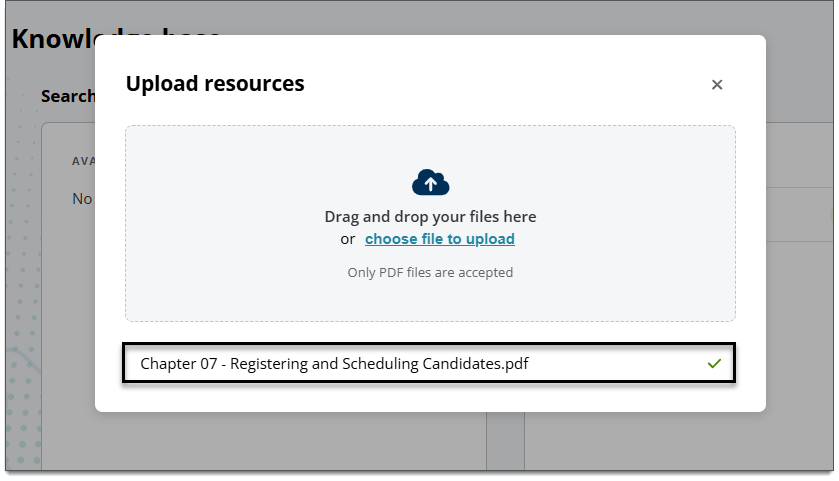
- Drag and drop PDF files into the designated area of the pop-up window or click choose file to upload and select the desired PDF files.
- The name of each added file is shown below the upload area. Click the X to close the window.
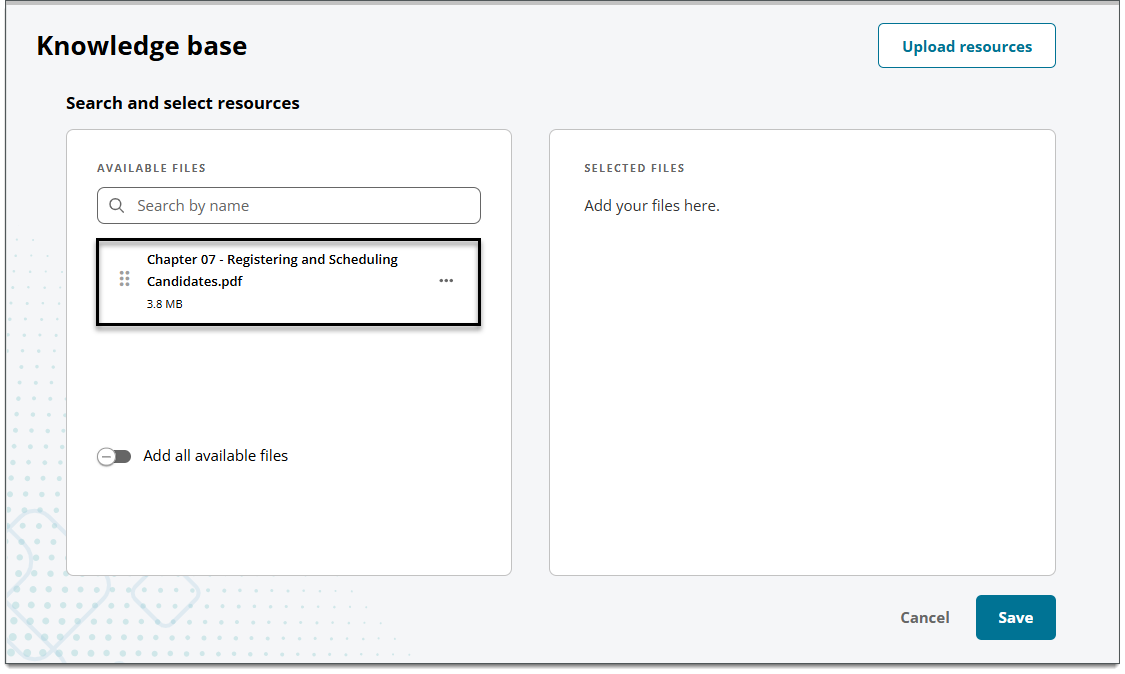
- The files are shown in the Available Files area.
|
|
Select resources
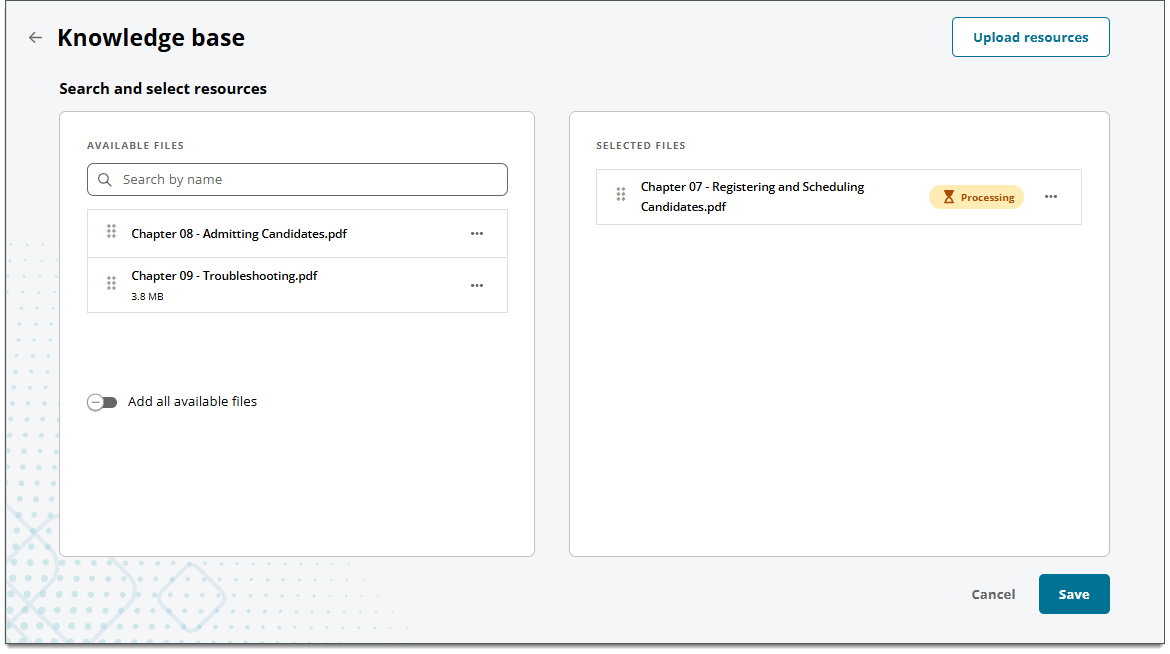
- Click and drag files from the Available Files list to the Selected Files list.
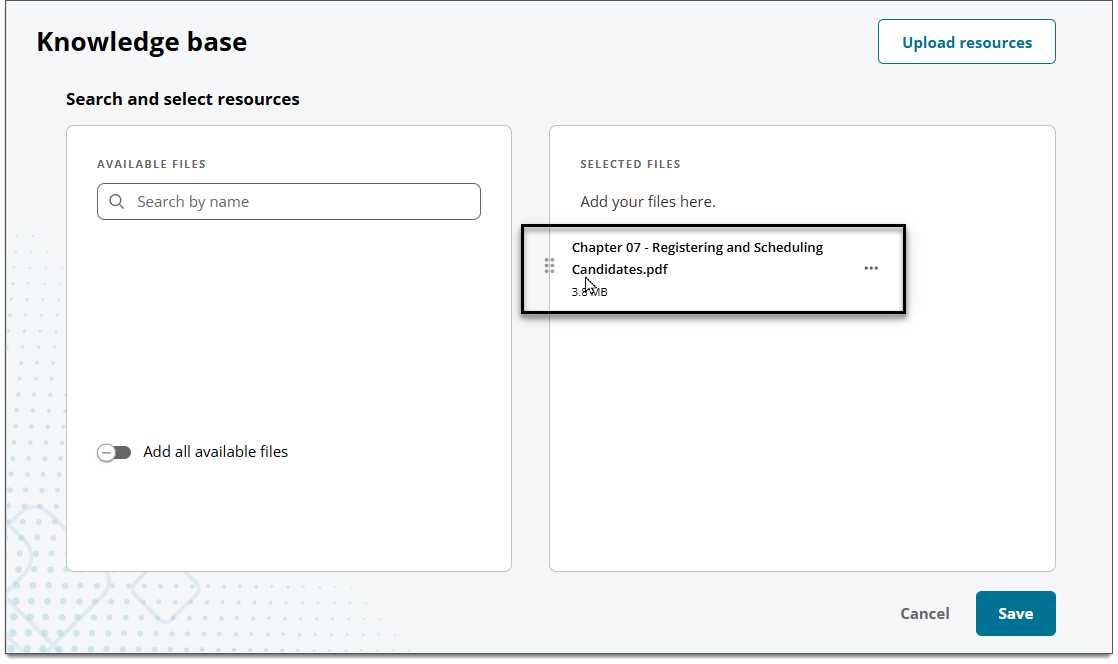
- You can search for a specific file in the Available Files list.
- Click Add all available files to add all resources in the Available Files list to the Selected Files list.
- Make sure the selected resources display the Ready to be sent flag.
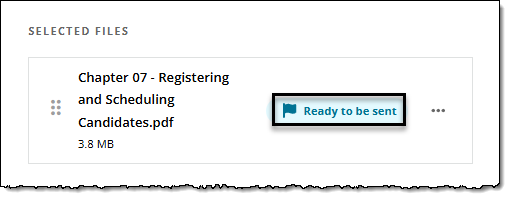
- Click Save.
- All selected resources are sent to Item Assist for processing.
- The content is being processed by AI (it is not just uploading files). Therefore, this process could take a significant amount of time (minutes or hours) depending on the type and volume of content you selected to process.
- The Knowledge base tile on the home page will initially display the message "0 resources processed". As resources are processed, the number will change. For example, if you selected 3 resources to process, the message "3 resources processed" indicates that all resources are ready to be used. Refresh the page to see the latest update.
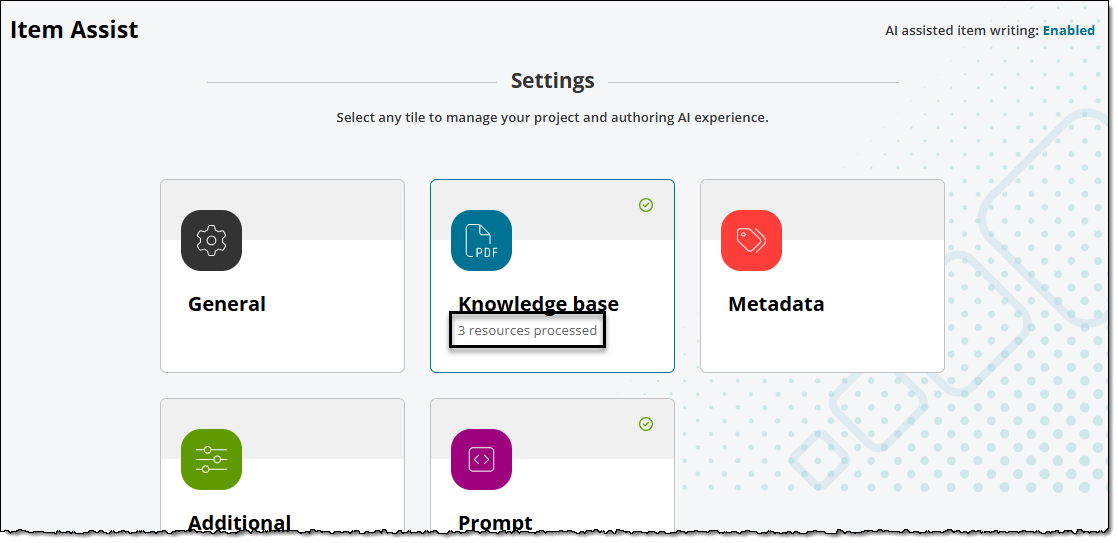
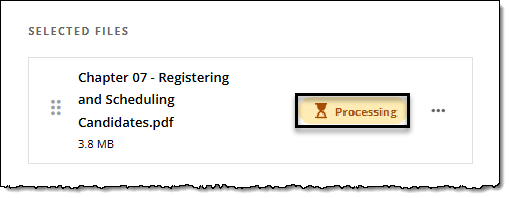
- You can check the status of resources in the Selected Files list. A Processing flag will show if a resource is still being processed.
Remove or delete resources
|
|
- Locate the file to be removed in the Selected Files list or the Available Files list.
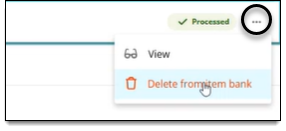
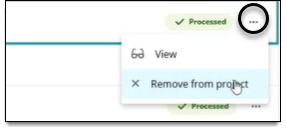
- Click the
 for the desired file and select one of the following. (Options are displayed based on the status of the file and where it is associated to.)
- Delete from item bank: this option is available if the file is editable for the project and is not associated to any other projects. You cannot delete a file from the item bank if it is view-only for the project.
- Remove from project: this option is available if the file is associated with multiple projects (either as editable or view-only). You cannot remove the file from the project if it is associated to a single project and is editable within that project.
- Delete from item bank: this option is available if the file is editable for the project and is not associated to any other projects. You cannot delete a file from the item bank if it is view-only for the project.
- In the pop-up window, confirm by clicking Delete (if deleting from item bank) or Remove (if removing from a project).